So thanks to some online haunters who have shared their talent. I have turned some of my plain ol blucky's into yummy fresh corpses. I started out with a blucky, because I would rather spend under $10 than $100 for a skeleton. I have purchased some of these from Big Lots, but actually got a few from the garage sales I went to. I went to home depot and picked up the carpet adhesive, two cans of wood stain. Already had latex gloves, toilet paper, drop cloth and a brush handy for the wood stain.
I give this guy credit for the wood stain color - http://www.theghostess.com/bluckycorpse.htm
You can truly get lost in the web searching for things, and come to realize there are so many people like myself. Even though I stole an idea or two from this guy and that gal, this was my personal technique. PS: I used a dremel instead of the box cutter because, people that shit is just plain ol dangerous!!!!
1. I cut out the eyes, nose mouth, around the rib cage area and bones.
2. I spray painted (flat black) inside the ribs and skull.
3. After the paint dried, I applied some cheese cloth around the eyes and nose.
4. Went to town with gloves on hands, and used the carpet adhesive spreading it all around the skeleton. I did one side at a time because it's very tacky/sticky.
5. Applied toilet paper to the carpet adhesive. Just play around with it.
6. Step 4 & 5 repeat after 1st application dries - process took almost a week.
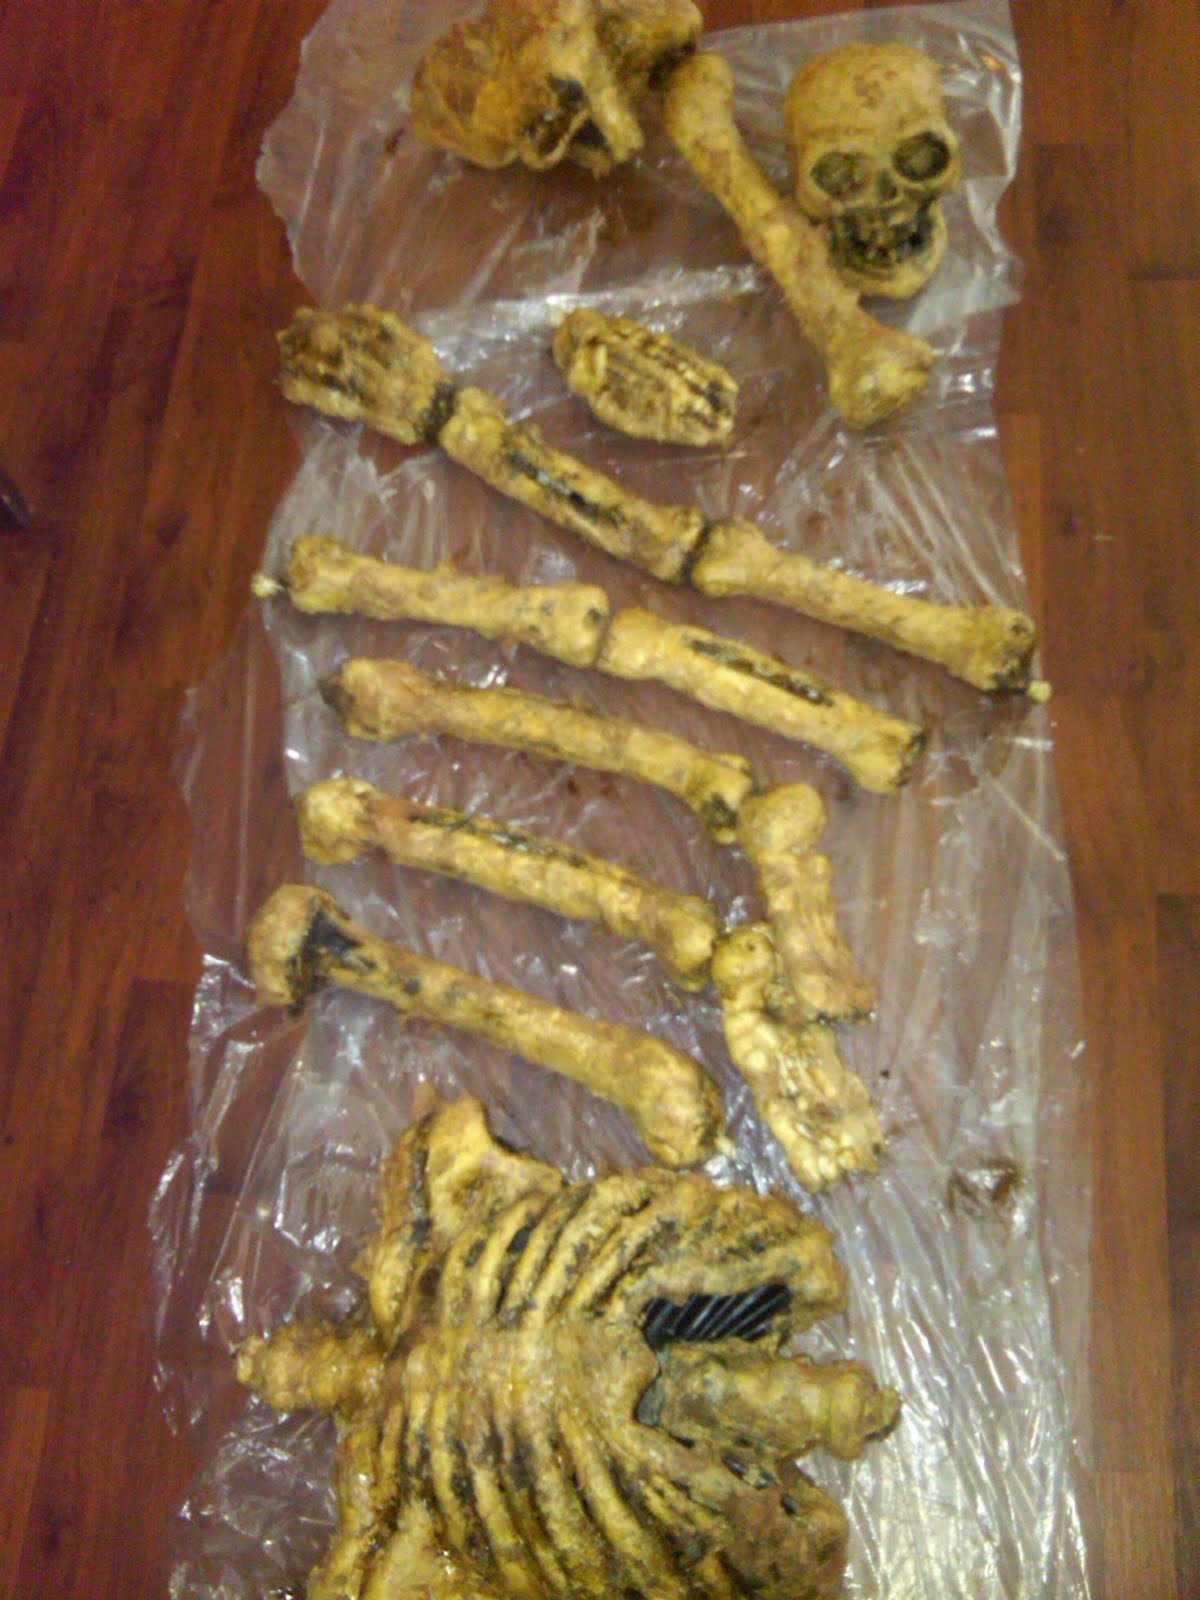
7. When he's all dried up then take the wood stain. I used the lighter color first and the darker one to accent areas. Dabbing the excess with a paper towel.
8. Tim and I were totally grossed out and in awww at this point!!!
9. Just wait till he dries. ;)
Right now I'm trying to make my blucky into a ground breaker and mount him so he stays put. Still working on that but he's almost finished.
There are some other items I've been working on corpsing that were some odd treasures from the craigslist ads I came across that I'm working on. To me they looked a bit corny so I had to alter them to make it more gruesome.