Showing posts with label dyi halloween projects. Show all posts

Wednesday, September 7, 2011

Burning Tears Halloween Special!

So yeah, I have this little shop on Etsy called Burning Tears. Check it out...

Love,

The Madame

Monday, August 29, 2011

A "Couple" of Ground Breakers

I had such a GREAT weekend. I'll post more later about that, but most importantly... I finished my first project(s) of the year (so behind).

Last week I mentioned the beginning stage of "hacking" a certain store-bought ground breaker. These guys were super cheap, one was picked up from a store - after halloween sale, the other came from a lot-for-sale off of Craigstlist. What to do, what to do... so I searched the internet for inspiration. Came across this lady.

I mentioned before in a previous blog how I mangled the head here. I used the same technique. Took the head off the body, removed the hair, cut the styrofoam and used paper towels and carpet adhesive. (note: I used Bounty, should have used Viva - no bumps/designs in paper towels are best). Waited a good week for that to dry, then painted their faces with craft paint and used polyurethane to seal.

In the meantime while their heads were drying. I gathered up some of the extra red velvet I had from some curios I have been working on. I also grabbed some black cheese cloth, along with little items I had in my craft/sewing box (the black satin rose). No sewing required on my ghoul-friend, just hot glue and used my imagination. Went into my costume bin and grabbed an old witch wig. Asked my son if I could have his old suit tie which worked perfect for the guy-ghoul. I used water and craft paint to make the tie dirty and used a dull razor blade to give it a grungy effect. Added plenty of moss on the bottom of their torsos as well as sporadically on their body, hands, face and head. To give it that fresh ground breaker look.

I can not begin to tell you how happy I was after I finished her.

Below you can see start to finish photos.


Monday, September 20, 2010

Scare who?

I've got 4 more days till set up begins. It's been a long while since I last wrote. I have been busy, and with little spare time I have had, I've been finishing up the odds and end of my projects this year.

So we begin with this a corny-as-hell scarecrow. He came with a big lot of stuff I found off a craigslist add. Was going to ditch it, but decided to keep him and put him to good use. And I hacked him!

In my last blog you can see how I started his face. I used my son's vampire costume from 4 years ago. Stuffed his legs and got some corn husks for his feet and hands. The idea of the vampire came from watching Underworld when the head vampire burns his daughter for being in love with the werewolf.

Idea of the skeleton face came from the book "How to Haunt your House". See below on the beginning process but basically it was like the corpsing effect just neater and using paper towels instead of toilet paper with carpet adhesive. I painted him with craft paint and sealed him with polyurethane.


This is it for now. As I need to cook dinner for my bloody thirsty children. I will update hopefully tomorrow with the mounting I finished and keep you going up and through Halloween.

Thursday, July 22, 2010

Motel Hell ~ Room 101

101 days till Halloween, 63 days till set up!

Time is coming near and it's starting to freak me out a bit. I have a lot on my plate for the next coming weeks up and through October. I did get to finish my corpsing and started on a new project (shown below). I also made a fog chiller out of items already in my garage! Next going to work on the peppers ghost. As well as re-vamping some of the store bought ground breakers.

This is me here with the last corpsed blucky!


This is a project I'm currently working on. He will be painted and attached to some sort of body. I will share my step by step instructions within the next week or two.


Last but not least, pumpkins are growing well, no actual pumpkins yet, flowers are there and they are just lush as all hell! My loving werewolf, Tim is also getting into spirit and is making a two headed skeleton 4 legged spider thing. It's massive! Not for halloween though, but just another oddity to add to the house.

I can't smell halloween in the air just yet, but damn it there are scarecrows and pumpkins on the shelves at the store already!

Love,
the madame

Tuesday, June 1, 2010

Corpsing is fun!!!

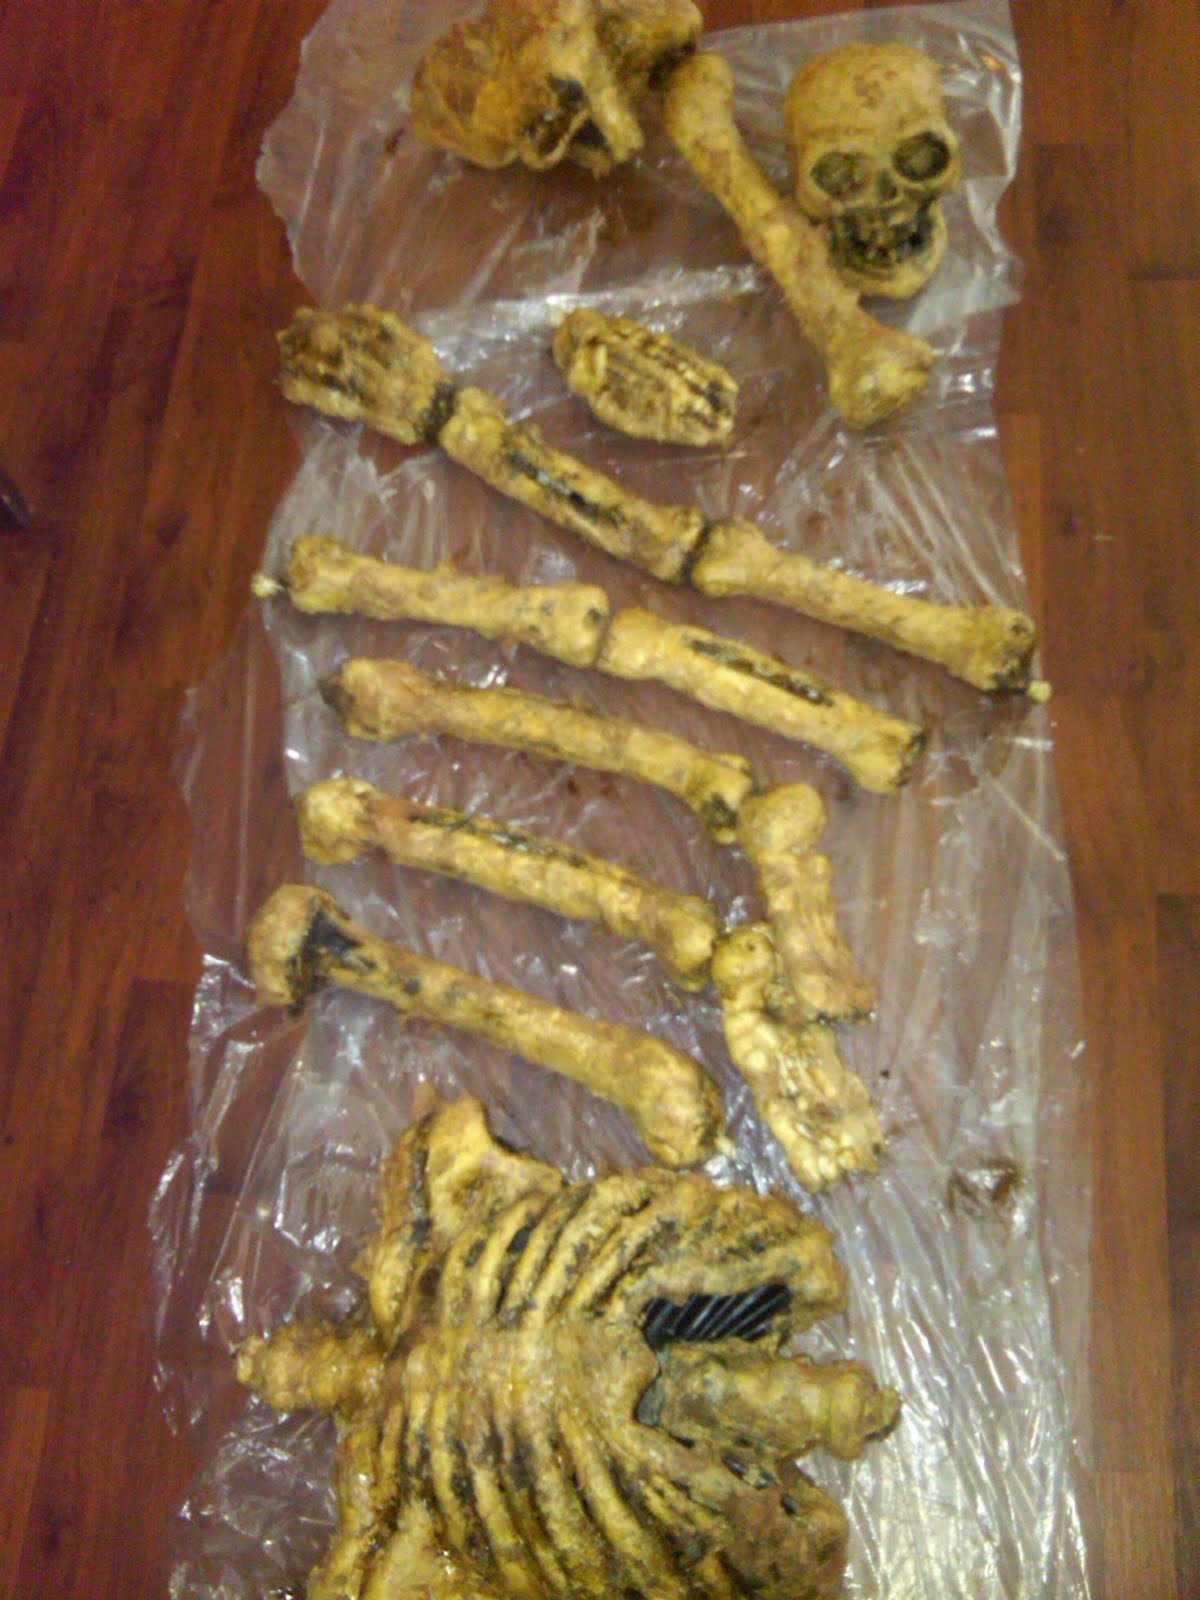
So thanks to some online haunters who have shared their talent. I have turned some of my plain ol blucky's into yummy fresh corpses. I started out with a blucky, because I would rather spend under $10 than $100 for a skeleton. I have purchased some of these from Big Lots, but actually got a few from the garage sales I went to. I went to home depot and picked up the carpet adhesive, two cans of wood stain. Already had latex gloves, toilet paper, drop cloth and a brush handy for the wood stain.

I give this guy credit for the wood stain color - http://www.theghostess.com/bluckycorpse.htm

You can truly get lost in the web searching for things, and come to realize there are so many people like myself. Even though I stole an idea or two from this guy and that gal, this was my personal technique. PS: I used a dremel instead of the box cutter because, people that shit is just plain ol dangerous!!!!

1. I cut out the eyes, nose mouth, around the rib cage area and bones.
2. I spray painted (flat black) inside the ribs and skull.
3. After the paint dried, I applied some cheese cloth around the eyes and nose.
4. Went to town with gloves on hands, and used the carpet adhesive spreading it all around the skeleton. I did one side at a time because it's very tacky/sticky.
5. Applied toilet paper to the carpet adhesive. Just play around with it.
6. Step 4 & 5 repeat after 1st application dries - process took almost a week.
7. When he's all dried up then take the wood stain. I used the lighter color first and the darker one to accent areas. Dabbing the excess with a paper towel.
8. Tim and I were totally grossed out and in awww at this point!!!
9. Just wait till he dries. ;)

Right now I'm trying to make my blucky into a ground breaker and mount him so he stays put. Still working on that but he's almost finished.
There are some other items I've been working on corpsing that were some odd treasures from the craigslist ads I came across that I'm working on. To me they looked a bit corny so I had to alter them to make it more gruesome.


Tuesday, March 9, 2010

OCD

Only 7 more months till Halloween. Yes, I think I have OCD when it comes to Halloween. I've been thinking about Halloween for well over several months now. Where to find bargains online and how to build props of my very own. I want to improve my Halloween display and make it more realistic looking. I've been on this website non-stop http://www.halloweenmonsterlist.info/ gathering up new ideas. I love when people share their projects!!!

Rewinding back to October 31, 2009, we had a Halloween party that turned out great, I used dry ice for my very first time. Next time I wont make so many sweets. I had so many cupcakes and cake left over. All my ghoulish guests loved the hot food I served. A fellow witch by the name of Jessica shared her receipe for pumpkin seeds, they turned out awesome, I winded up making several to-go-bags. Since Halloween lands on a Sunday this year, I am considering having my party on the 29th or the 30th. Oh and note to self not to purchase so much candy, we still have bags hiding in a closet.

Shopping the weekend after Halloween to catch deals! I picked up some spine chilling stuff. Tried to hide most of the things and bought some more plastic storage bins so Tim wouldn't see. *witch cackle* A few items I purchased before Halloween but were broken items in the store I got for a steal, need some love n' care and will be worked on soon.

Last month the kids and I took a little ride through some old cemeteries in Fairburn. Seen some headstones dated back to the early 1800's! We just got back from Clermont, Florida this weekend and to my surprise there was spanish moss growing naturally on the trees. So much of it! The trees looked so creepy, I immediately took notice. Although I forgot to collect some for home, I would love to recreate the look for my tree out front. Make note.... I'll be back!!!!!

Here's a list of my projects for this year:
Corpsing my Bucky's
Making more of the fence I made last year, so the cemetery completely closed in.
Adding finials to the fence
Creating zombie ground breakers - goal is to make things move this year!
(this list will grow, and exists in my Halloween journal)

I think with a little help from Tim's crazy brain and his expertise in art, shits gonna be awesome this Halloween!!!!